History: In 1995, PNG or Portable Network Graphics was designed for transferring images with minimal data loss.
What makes them special? Their transparency feature. This means parts of the image can be completely invisible. They are vital for modern design.
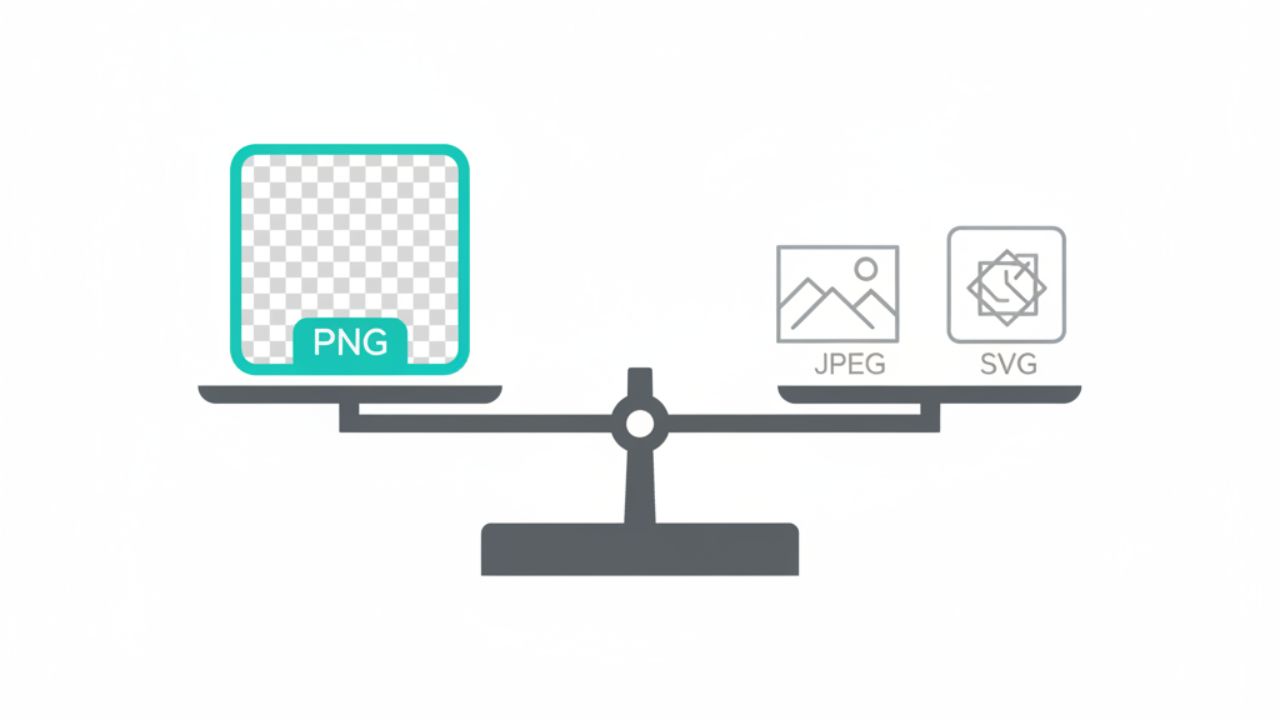
You see them everywhere. But this popularity has a cost. Many people grab a PNG simply because they want a transparent background, overlooking the other key factors that define an image file.
Before diving into the mistakes, it’s essential to appreciate the bigger picture of digital image formats. Choosing the right file type, whether it’s a PNG, JPEG, or even a newer format like WebP- is the first critical decision in any project.
Let’s explore these common pitfalls.
The difference between a crisp, fast-loading website and a sluggish, halo-ridden mess often comes down to just six simple errors.
Table of Contents:
| Sections | Insights |
| Mistake #1: Using the Wrong File Format | Why is PNG (alpha channel) necessary over JPEG or basic GIF? |
| Mistake #2: Not Optimizing File Size | Explains the negative impact of large PNG files on speed and SEO. |
| Mistake #3: Poor Background Removal | Discusses flaws like halos, jagged edges, and the need for Pro Tools |
| Mistake #4: Ignoring Color Profiles and Transparency Settings | Focuses on managing the alpha channel and testing on various backgrounds. |
| Mistake #5: Using Transparent PNGs in the Wrong Context | Compares PNG with superior vector (SVG) or photo (WebP) formats. |
| Mistake #6: Overusing Transparent PNGs in Web Development | Warns about excessive transparency causing rendering and loading issues. |
| How to Avoid These Mistakes | Provides a quick, actionable checklist for proper PNG usage every time. |
Mistake #1: Using the Wrong File Format
This is the most fundamental error. Many users confuse PNG with other formats. They think PNG, JPEG, and GIF are interchangeable. They are absolutely not. Each format has a specific purpose.
JPEG files do not support true transparency. JPEGs are best for complex photos. They use lossy compression. This means they discard data to reduce size. They fill transparent areas with white or black.
GIF files do support transparency. However, it’s very limited. GIF only allows 1-bit transparency. This means a pixel is either fully visible or fully invisible. It cannot handle smooth, subtle edges.
Why PNG is better for transparency: PNG supports an alpha channel. This channel handles 256 levels of transparency. It allows for semi-transparent pixels. This is crucial for smooth blending. It creates soft edges and realistic shadows.
Quick tip: Choose PNG for logos, line art, and graphics with transparency. Choose JPEG for photographs without transparency. Choose GIF for simple animations.
Mistake #2: Not Optimizing File Size
PNGs are fantastic for quality. They use lossless compression. This preserves image detail perfectly. The downside? PNG files can become enormous.
Large PNG files slow down websites. This is a major issue. Every second matters for site loading speed. Slow sites frustrate users. They increase your bounce rate. Visitors leave before the content loads.
Slow sites also hurt SEO. Google penalizes slow-loading websites. This can drop your search engine rankings. A massive PNG is a self-inflicted wound.
How to compress PNGs without losing quality: You must optimize your PNGs. Use specialized compression tools. These tools remove unnecessary metadata. They optimize the color palette.
They do this without affecting the visual quality. Search for online PNG compressors or use desktop tools like TinyPNG or ImageOptim. Always compress before uploading your files.
To understand the full upscaled options, you can read our detailed guide.
Mistake #3: Poor Background Removal
A transparent PNG relies on perfect background removal. This is harder than it looks. A common mistake is leaving residue.
This residue is often subtle. You might see faint traces of the original background. This looks unprofessional. It’s a clear sign of amateur design work.
Another issue is jagged edges or halos. A “halo” is a thin, pale ring around your subject. It appears because the removal tool didn’t handle anti-aliasing correctly. This is especially visible when placing a PNG on a dark or colorful background.
Suggest tools like remove image background online: Don’t rely on simple magic wand tools. Use sophisticated software. Tools powered by AI, such as dedicated online background removers, do the best job.
They distinguish the foreground from the background cleanly. They ensure crisp edges and perfect transparency.
Mistake #4: Ignoring Color Profiles and Transparency Settings
Transparency is not a one-size-fits-all setting. You need to understand the alpha channel. This is what defines the transparency level of each pixel.
A major error is mismanaging semi-transparent pixels. If a pixel should be 50% transparent, and it’s 100% opaque, your image looks blocky. If the wrong color profile is embedded, colors can shift. A red logo on your monitor might look orange on the web.
The most critical step is testing PNGs on different backgrounds. Don’t just check your PNG on a white screen. Try it on a black background. Place it on a colored background. Overlay it on a complex texture.
This reveals any issues with the alpha channel or edge blending. If you see white halos, your transparency settings are wrong. You need to re-export the image.
Mistake #5: Using Transparent PNGs in the Wrong Context
PNGs are powerful, but not always the best choice. This mistake is about knowing the limitations.
When PNG isn’t the best choice:
Logos on Complex Gradients: For completely scalable logos, PNGs are rigid. Scaling them up loses clarity.
Large High-Res Photography: The file size of a high-resolution PNG can be huge. A compressed JPEG is usually a better trade-off for speed.
Alternative formats like SVG for scalable graphics: For vector-based graphics like logos, simple icons, and illustrations, SVG is superior.
SVG is Scalable Vector Graphics. It is infinitely scalable without quality loss. It also has a tiny file size. Use PNG for bitmap graphics. Use SVG for vector graphics.
For a deeper dive, read our related article: Transparent PNG vs SVG: Choosing the Right Format for Your Project.
Mistake #6: Overusing Transparent PNGs in Web Development
A single PNG mistake is minor. A website full of them is a disaster. Developers often rely too heavily on transparent PNGs.
Transparency everywhere slows loading. Each transparent element requires more rendering power. The browser has to calculate how the image interacts with the background.
Too many layers of transparency stack up. This can cause rendering issues, especially on older devices.
Balance between PNG, SVG, and WebP: Smart web development requires a balanced format approach.
- Use WebP for most photographs. It offers superior compression to JPEG.
- Use SVG for logos and non-photo elements.
- Use PNG only when you need high-quality transparency and the image is pixel-based.
Best practices for mixing formats: Only use the right format for the job. Use a site audit tool to check your image formats. Replace any oversized or incorrectly formatted images immediately. Optimize your website’s performance by being format-intentional.
How to Avoid These Mistakes (Quick Checklist)
Stop making these simple errors today. Follow this simple checklist for every transparent graphic:
- Choose the right file format: Use PNG for complex transparency, never JPEG.
- Always optimize PNG size: Compress your files before uploading them to your server.
- Use professional tools for background removal: Avoid amateur results and jagged edges.
- Test transparency on different backgrounds: Check for halos and color shifting (light, dark, and complex).
- Use PNG only where it adds value: Consider SVG for vector logos and WebP for photographs.
Conclusion
Transparent PNGs are invaluable assets. They offer flexibility and high quality. However, they demand attention to detail. Ignoring file format, size, or quality settings leads to poor results. These mistakes damage your site speed and professionalism.
Be intentional with your PNG use. Master the basics of compression and removal. Test every graphic on a live background. Your website performance and brand image depend on it.
Ready for a change? Don’t just fix old images. Create entirely new, professional graphics. You can do it in a minute.
Stop worrying about fixing old files. Try Pixi AI instead. Get high-quality image generation today.
Frequently Asked Questions
Why are transparent PNG files often larger than JPEGs?
PNG uses lossless compression, preserving all data, while JPEG uses lossy compression, discarding some data to shrink the file.
Does a PNG’s file size hurt my website’s SEO?
Yes, large PNG files slow down page load speed, which is a negative ranking factor for search engines like Google.
What is the main benefit of PNG’s alpha channel transparency?
The alpha channel allows for semi-transparent pixels, which create smooth, realistic edges when blending with any background.
Should I use SVG or PNG for my company logo?
You should use SVG for a logo because it is a vector format that scales infinitely without losing any quality.
How can I check for “halos” on my transparent PNGs?
Test your PNG by placing it against both very dark and very bright backgrounds to reveal any residual edges or halos.
What is the fastest alternative to PNG for general web images?
The WebP format is the fastest alternative, offering superior compression and quality compared to both JPEG and PNG.